
Absolutely everyone has fond reminiscences of biting into a great waffle that’s crisp on the exterior and comfortable within. But to recreate that magic at residence, your waffle maker demands a tiny TLC, recognized as ‘seasoning.’
Seasoning builds up a protecting layer on the waffle iron that not only makes your waffle quick to remove but also boosts its taste. It also stops rusting, assures an even warmth distribution, and prolongs the everyday living of your waffle iron. In this article are the measures for seasoning a waffle maker:
- Cleanse it comprehensively to get rid of production residue
- Coat with suited oil (superior smoke position)
- Warmth until finally warm on a stove (ideally an oven)
- Wipe away further oil
- Neat down prior to storing
In this information, we’ll clarify each individual step in far more element, go over the cause for seasoning your waffle maker, and present strategies to get it suitable each individual time.
Why You Should Year Your Waffle Maker
Each individual house owner goals of serving up all those ideal waffles: crispy on the outdoors and fluffy inside. Seasoning your waffle maker is the golden ticket to that dream. But why?
Defense from Rust
Like your favourite forged iron skillet, waffle makers can rust. Seasoning results in a protecting layer, shielding the iron from dampness.
Non-Stick Goodness
Stuck waffles? No many thanks! Seasoning builds a non-adhere area. So, your waffles slide out with simplicity, preserving you from the dreaded waffle-sticking tragedy.
Improved Waffle Taste
It is not magic, but seasoned waffle irons can make your waffles taste far better. How? The oil used in seasoning can increase a delicate richness.
Lengthier Appliance Everyday living
Seasoning is not just about today’s breakfast. It is an expense for many breakfasts to appear. This approach maintains your waffle maker, making sure it stays in suggestion-leading form for for a longer period.
Even Heating
No one likes a patchy waffle. Seasoning can help in accomplishing an even heat distribution, offering your waffles that constant golden hue.
Action-by-Move Seasoning Method
It’s time to dive into the nitty-gritty of seasoning your waffle maker. Stick to this guidebook, and you are going to be a waffle wizard in no time.
1. The Thoroughly clean Slate Begin
Just before we begin, let us make sure your waffle maker is squeaky cleanse. Residues from former takes advantage of can sabotage the seasoning method.
System: Use a damp fabric to wipe the plates. For stubborn places, a soft brush or toothbrush operates wonders. Refrain from using severe chemical substances or soap h2o normally does the trick.
2. Selecting the Appropriate Oil
The oil you choose matters. Even though Aunt Edna swears by bacon grease, we advocate vegetable-centered oils.
Top rated Picks: Grapeseed, canola, and flaxseed oil are favorites. These oils have superior smoke details, that means they can take care of the heat devoid of going all smoky on you.
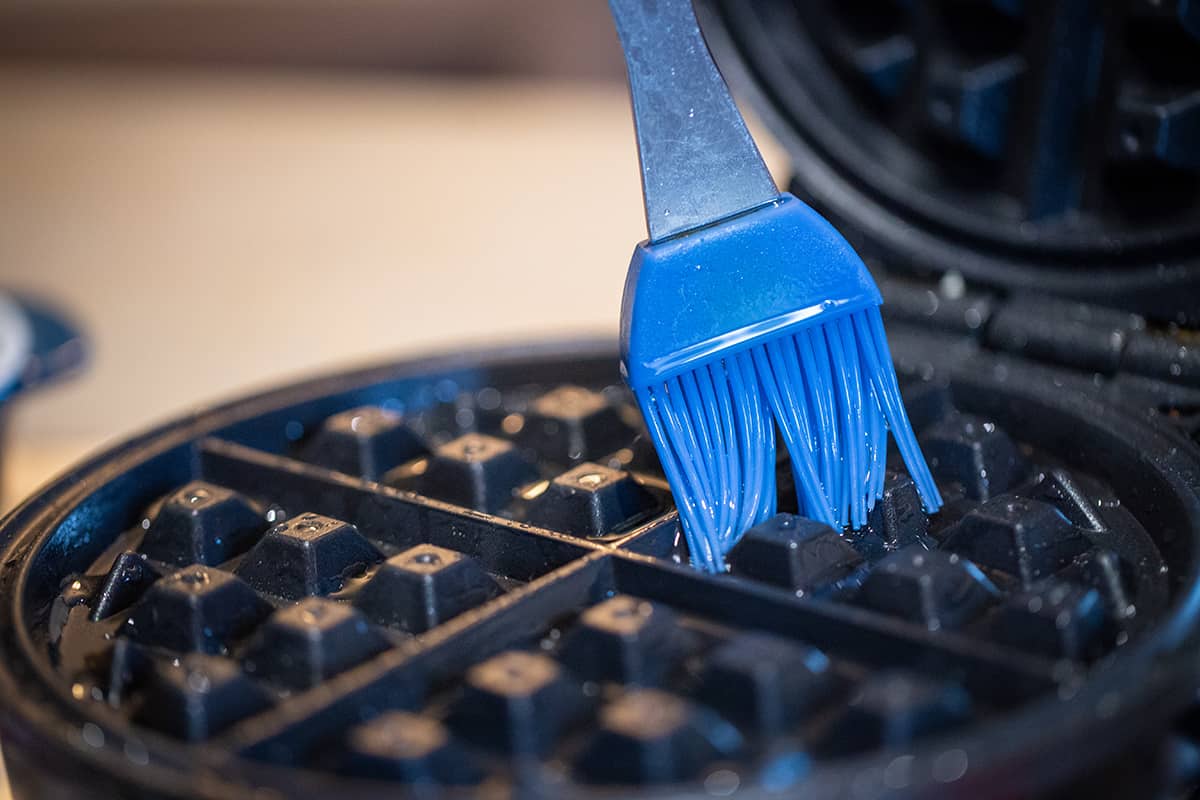
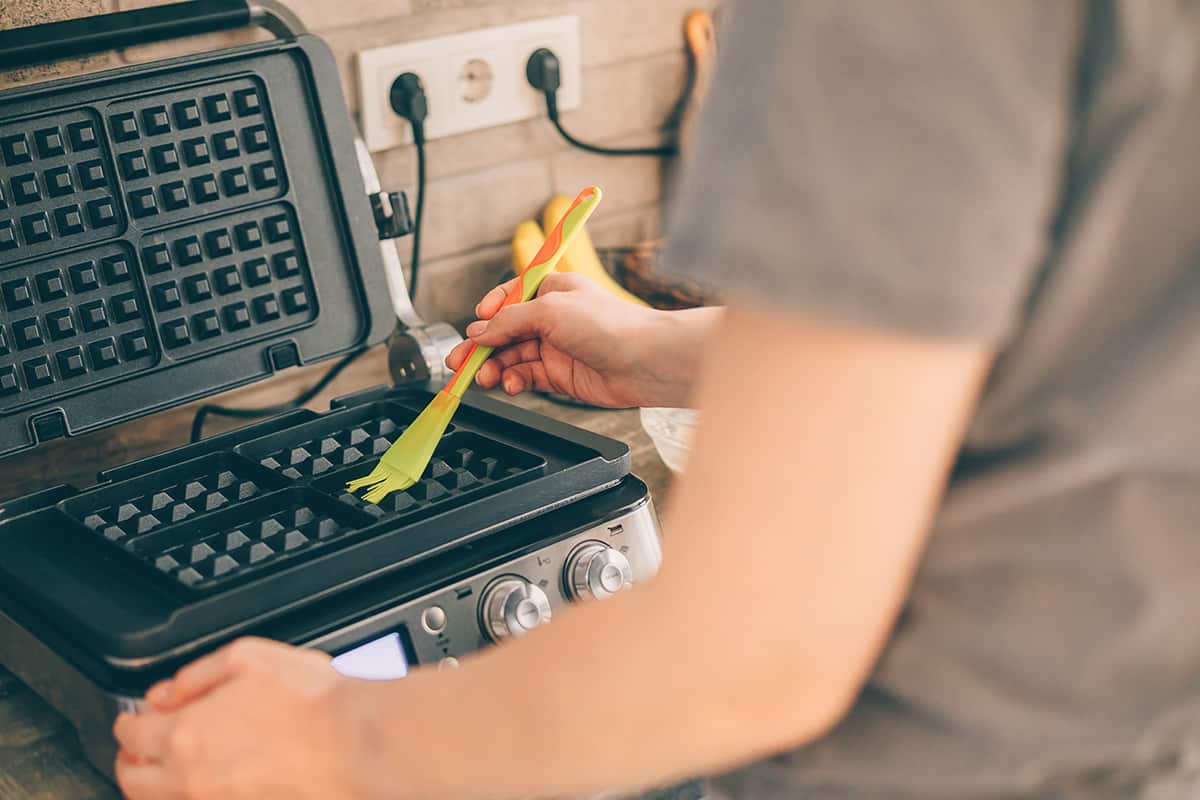
3. Flippantly, Still Totally, Oil It Up
This isn’t a salad you never want to drench your waffle maker in oil.
Strategy: Pour a tad little bit of oil on a paper towel or delicate cloth. Carefully rub it onto the waffle plates, so a thin layer coats each individual nook and cranny.
4. Turn Up the Heat
Now, we cook dinner! Nicely, form of. You are cooking the oil into the waffle iron.
Process: Plug in your waffle maker and set it to its optimum temperature environment. Enable it warmth till the oil starts off to smoke. This generally takes close to 5-10 minutes. If you have a waffle iron, put it on the stove on medium-substantial heat or in an oven a 425°F.
5. Allow It Smoke (Just a Small)
A wee little bit of smoke is a very good indicator! It indicates the oil is bonding with the metallic.
Hint: Open up your windows or activate the exhaust fan. We’re aiming for “seasoned waffle maker,” not “smoke alarm concert.”
6. Wipe Off the Excessive
Just after the smoking cigarettes stops, change off the waffle maker. After it is cool adequate to touch, take another paper towel and wipe away any extra oil. You want a sheen, not a puddle!
7. Round Two (and Perhaps Three)
For an impeccable non-stick surface, repeat measures 3 to 6 a couple of situations. Each and every layer you increase improves the non-stickiness and defense.
8. Cooling Off Period
Endurance is key. After you have seasoned to gratification, allow the waffle maker great down entirely just before storing it.
9. Storage Guidelines
Retain your freshly seasoned waffle maker in a dry position. If you are likely to go over it, make sure the go over is breathable.
10. It is Go-Time!
Before creating your inaugural post-seasoning waffle, do a exam operate. Warmth the waffle maker, pour in your batter, and behold the magic of your effectively-seasoned appliance.
Additional Tips
So, you want to be the king or queen of the breakfast realm? Effectively, here’s the insider scoop to get you there. Seasoning your waffle maker the ideal way can mean the variation in between “meh” waffles and “mind-blowing” waffles.
1. Time the Waffle Maker Frequently
Like most things in lifetime, when it arrives to oiling, consistency matters. Generally be certain an even, thin coat. You’re aiming for a mild sheen in excess of the total surface, not just random patches.
2. Hear to Your Machine
Every single waffle maker is one of a kind, with its quirks and moods. Pay out notice to the signals. If the oil is cigarette smoking excessively or the waffles are sticking, it’s time to period again.
3. Place to Breathe
Air circulation is very good for the soul and your waffle maker. Prevent wrapping your appliance in plastic or storing it in a moist location. Allowing it breathe prevents moisture buildup, which can destroy the seasoning.
4. Be Light, It’s Not a BBQ Grill
When cleaning, treat your waffle maker with a light touch. Ditch steel brushes or scouring pads. A gentle brush, cloth, or silicone spatula will do the trick without scraping off the seasoning.
5. Cleaning with Cleaning soap Will Ruin the Seasoning
While it could possibly seem like a very good idea, cleaning soap can strip away the seasoning. Heat water and a smooth fabric normally do the trick.
6. Falling for the Spray Lure
All those non-stick sprays feel easy, but beware! Over time, they can depart a gummy residue, building the floor stickier. Stick to normal oils.
Producing Your Initial Waffle Publish-Seasoning
Your waffle maker is all seasoned and shiny, waiting around for its major debut. But prior to you start out belting out a breakfast anthem, let us established the stage for your waffle’s initial functionality.
Preheat to Perfection
Just like an oven, your waffle maker wants to get all heat and cozy just before the batter goes in. Convert it on and hold out for the indicator light-weight. If there isn’t one, five minutes should really do the trick.
Batter Matters
The star of the show! A good waffle is all about the batter. Opt for recipes with a slight crisp. Consider buttermilk or yeast-based. They complement the seasoned floor, making certain a golden-brown hue.
Much too crispy? Not fluffy adequate? Regulate the batter or cooking time accordingly the subsequent time you whip up a batch of waffles.
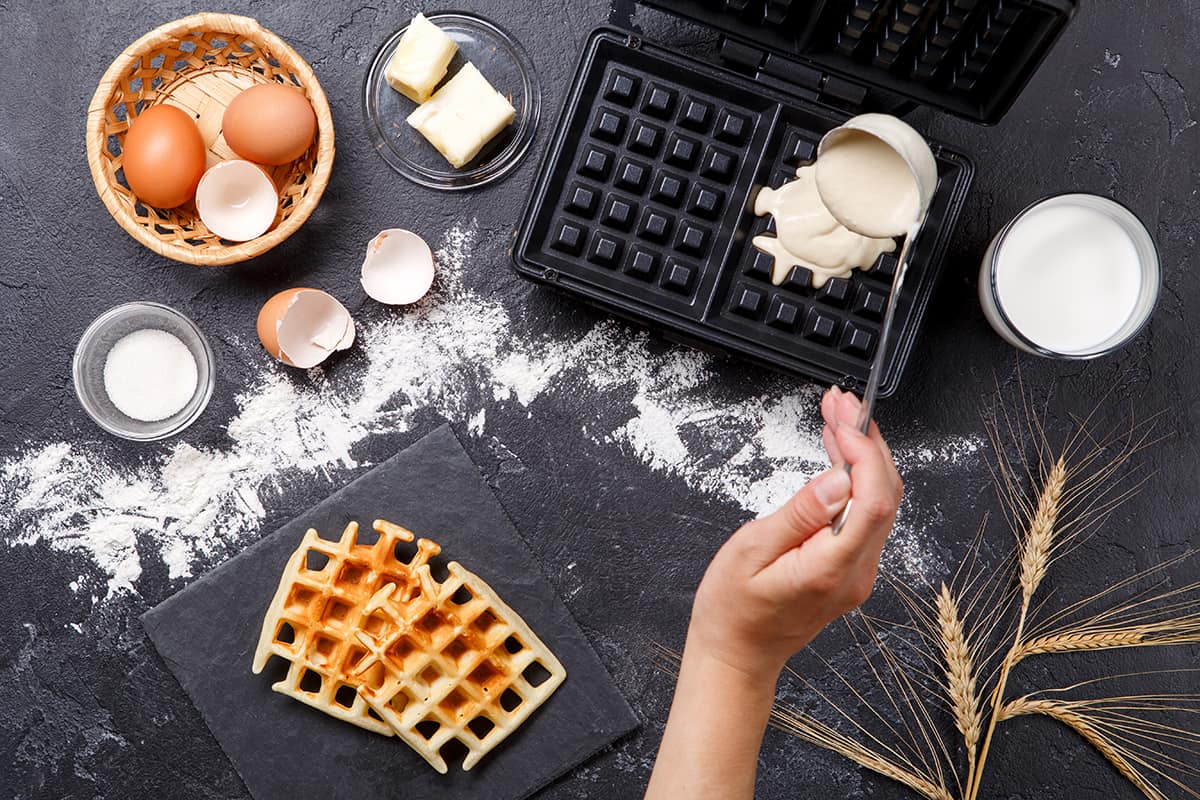
Much less is A lot more
Really don’t drown the plates in batter it can seep out and create a messy encore. Use a ladle or cup with a spout for managed pouring. Aim for the centre and enable it distribute out.
Patience, Grasshopper
Don’t hold peeking! Opening the waffle maker way too quickly can guide to a torn waffle. Keep off for at least 5 minutes. Some waffle makers have an indicator light to sign when it is prepared.
Rescue Mission
Your 1st waffle may stick a minimal, but really don’t stress! Use silicone tongs or a fork to gently nudge it. Recall, it’s a waffle, not a pancake manage with care.
Cleanup & Treatment
The moment the curtain falls, it is time to clear up. Use a soft cloth to wipe away any residue with the waffle maker unplugged and cooled down. There is no need to have to re-time instantly but maintain an eye on its sheen.
The write-up How to Year a Waffle Maker appeared initial on HowdyKitchen.